


After a minor accident, thoroughly inspect Tesla panel damage. Look for misalignment and gaps, indicating potential issues. Gather appropriate tools, including specialized panel gap tools. For severe damage, consult professionals at a body shop. Restoration involves assessing, preparing, filling, sanding, and priming/painting to blend seamlessly with the vehicle's aesthetic.
“Tesla vehicles are renowned for their sleek design, but minor accidents can cause unsightly panel gaps. This guide delves into the essential steps of restoring Tesla panel gaps efficiently. After assessing the damage and gathering the right tools, you’ll learn a step-by-step process to ensure a seamless fit, enhancing your vehicle’s aesthetic appeal. Discover how to navigate this repair process, achieving professional results for your Tesla.”
- Assessing Tesla Panel Damage After Minor Accidents
- Gathering Essential Tools for Restoration Process
- Step-by-Step Guide to Closing Gaps Efficiently
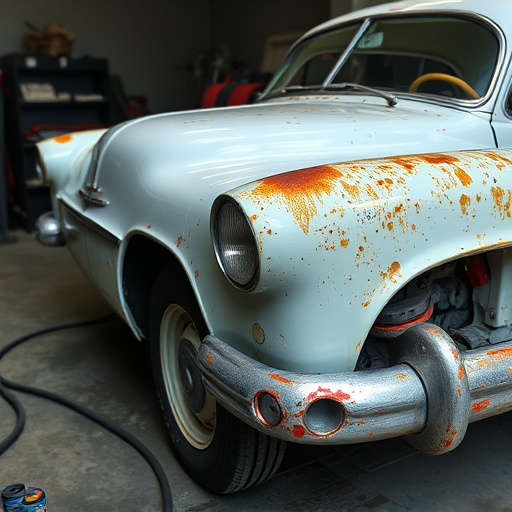
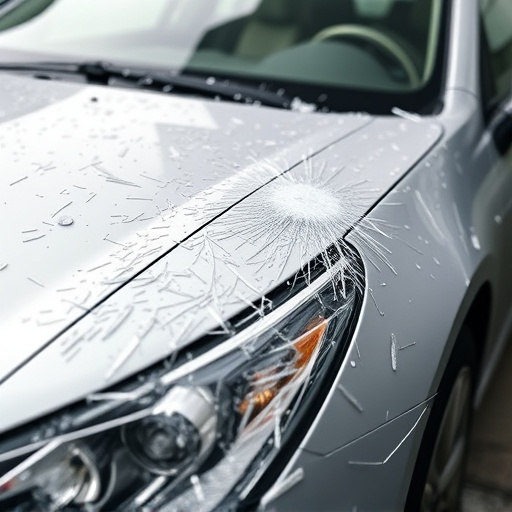
Assessing Tesla Panel Damage After Minor Accidents
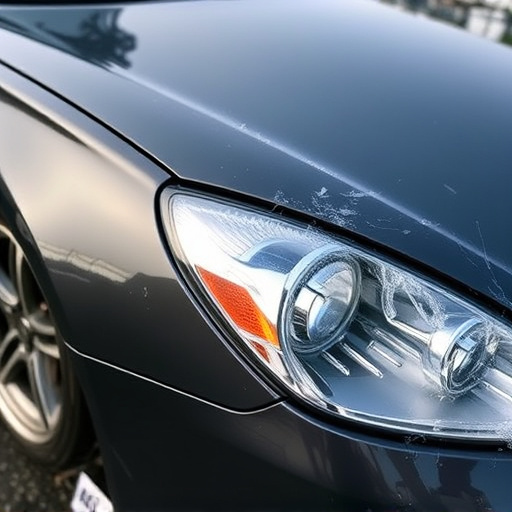
After a minor accident, assessing Tesla panel damage is crucial for effective restoration. Tesla vehicles are known for their sleek design and precision engineering, but like any car, they can experience dents, dings, or small cracks in the panels from low-speed collisions or parking incidents. The key to successful Tesla panel gap restoration lies in identifying these issues early.
Inspecting your Tesla thoroughly is essential. Walk around the vehicle, examining each panel for any visible signs of impact or misalignment. Look for gaps between panels that might have opened up due to the accident. While some minor adjustments can often be made at home, more significant damage may require the expertise of an auto body repair shop, especially if structural integrity is compromised. Early intervention and professional care are vital steps in ensuring your Tesla retains its original aesthetic appeal and safety standards after a minor accident.
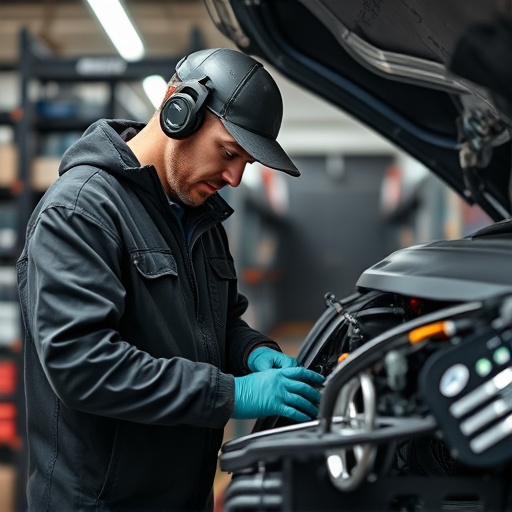
Gathering Essential Tools for Restoration Process
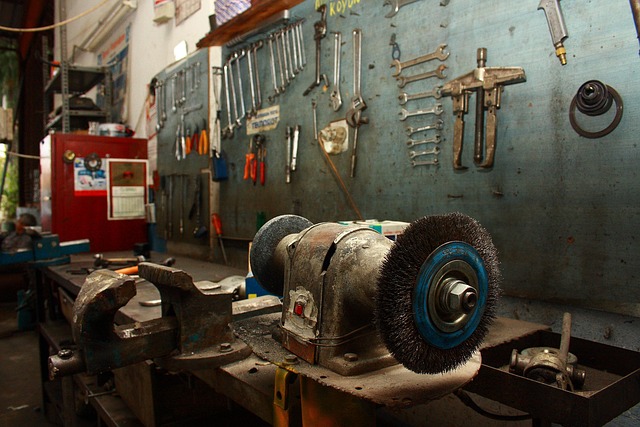
Before tackling any Tesla panel gap restoration project, it’s imperative to gather the right tools for the job. This process involves more than just a quick trip to the local auto parts store; it requires a strategic selection of high-quality equipment tailored for automotive repair services. For instance, you’ll need specialized panel gaps tools designed to carefully and accurately adjust the gaps without causing further damage. Additionally, a set of precision screwdrivers, a hammer with a smooth face, and a putty knife are essential for more intricate repairs.
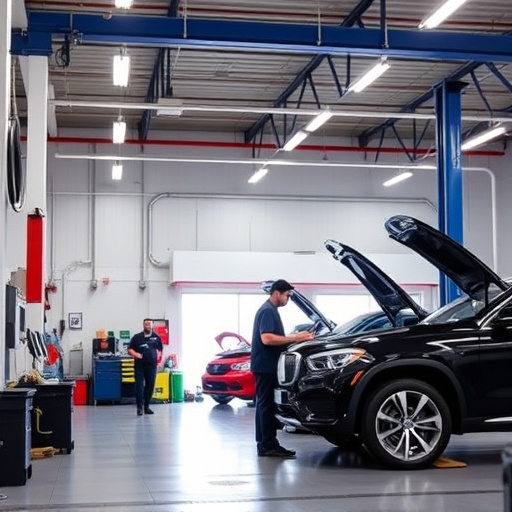
A visit to a reputable vehicle body shop or auto body repair service center can also equip you with the knowledge and resources needed. Their experienced technicians can offer valuable insights on the best restoration techniques and tools, ensuring your efforts result in a seamless and lasting fix. Remember, the right preparation is key to achieving professional-grade Tesla panel gap restoration outcomes.
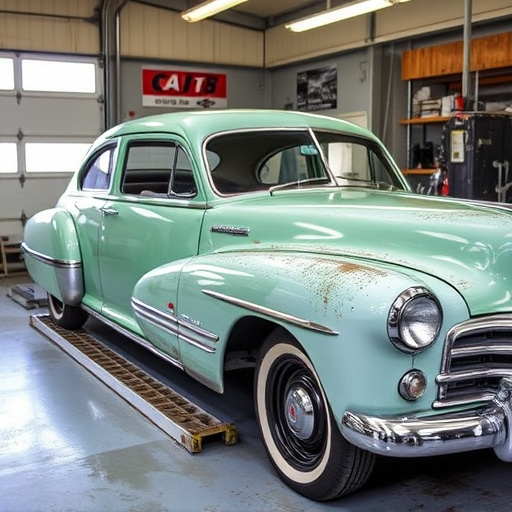
Step-by-Step Guide to Closing Gaps Efficiently
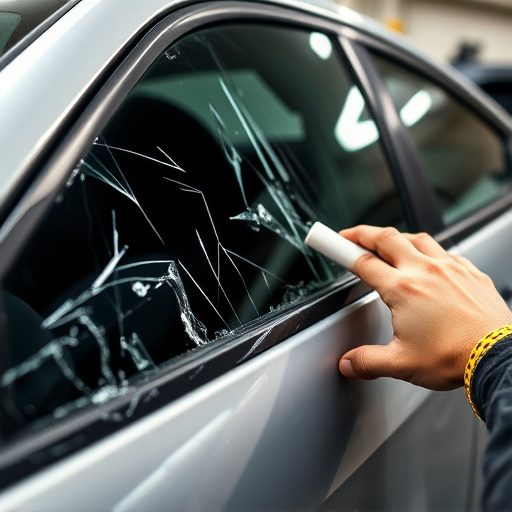
Restoring Tesla panel gaps after minor accidents is a crucial skill for Tesla owners to master. The sleek and modern design of Teslas makes even small dents or scratches noticeable, creating unsightly gaps between panels. Fortunately, with the right tools and techniques, these gaps can be efficiently closed.
Here’s a step-by-step guide:
1. Assess the Damage: Inspect the affected area thoroughly to identify the extent of the gap. Minor dents or dings may require simple methods like drying compounds and filler, while more significant damage might demand professional body work.
2. Prepare the Surface: Clean the panel gap thoroughly using a mild soap and water solution to remove any dirt or debris. Dry the area completely before proceeding.
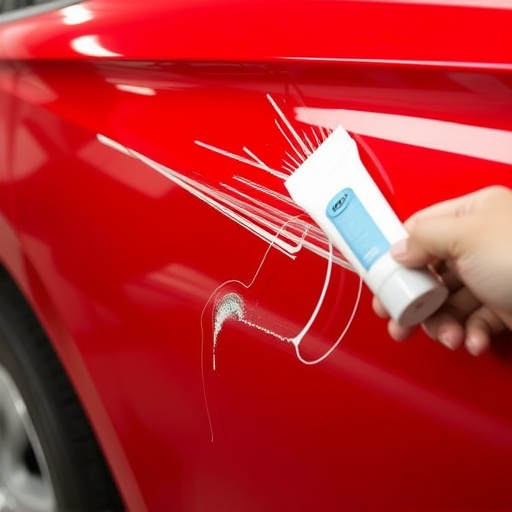
3. Fill the Gap: Apply a suitable automotive filler compound to the gap, ensuring it matches the contour of the surrounding panel. Let it dry according to the manufacturer’s instructions.
4. Sand and Smooth: Once dry, gently sand the filled area with progressively finer grits of sandpaper until it’s smooth and level with the adjacent panels.
5. Apply Primer and Paint: Prime the repaired area to ensure better adhesion, then apply a matching paint job using high-quality automotive paint. This will blend seamlessly with the rest of the vehicle, concealing the gap completely.
Restoring Tesla panel gaps after minor accidents is a feasible task that can significantly enhance your vehicle’s aesthetics. By properly assessing the damage, gathering the right tools, and following a meticulous step-by-step guide, you can efficiently close those annoying gaps. With a bit of patience and attention to detail, you’ll have your Tesla looking like new again, ensuring its vibrant and glossy exterior for years to come. For effective Tesla panel gap restoration, remember that the key lies in prompt action, accurate evaluation, and using suitable materials to achieve a seamless finish.