

Tesla vehicles often exhibit visible panel gaps due to manufacturing processes and environmental factors, impacting aesthetics and potential structural integrity. Restoring these gaps requires specialized tools, materials, and techniques beyond visual repair, including washing, sanding, filling, shaping, and precise painting, aiming for factory-like results with professional services tailored for electric vehicles.
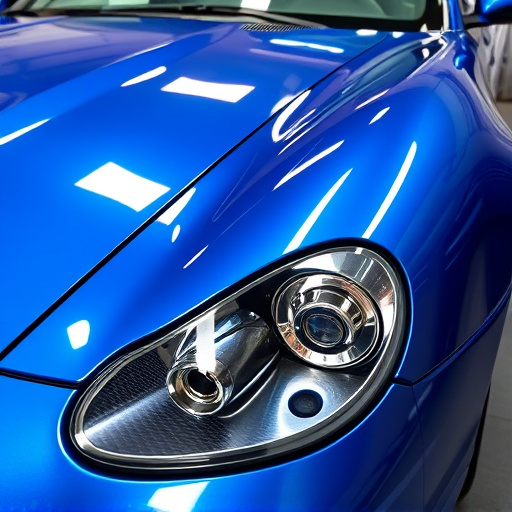
Tesla vehicles are renowned for their sleek, futuristic design, but one common issue owners face is the presence of visible gaps between door and hood panels. This article delves into the world of Tesla panel gap restoration, exploring the causes behind these gaps and offering a comprehensive guide to seamless repair. By understanding the issues and utilizing the right tools and techniques, you can restore your Tesla’s aesthetic appeal and maintain its distinctive look.
- Understanding Tesla Panel Gaps: Causes and Effects
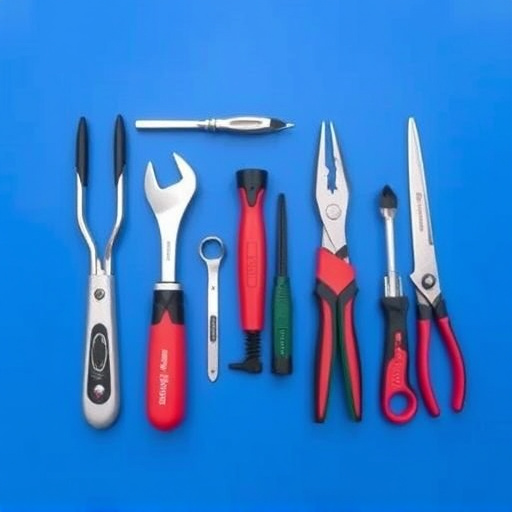
- Tools and Materials for Restoration Project
- Step-by-Step Guide to Seamless Gap Repair
Understanding Tesla Panel Gaps: Causes and Effects
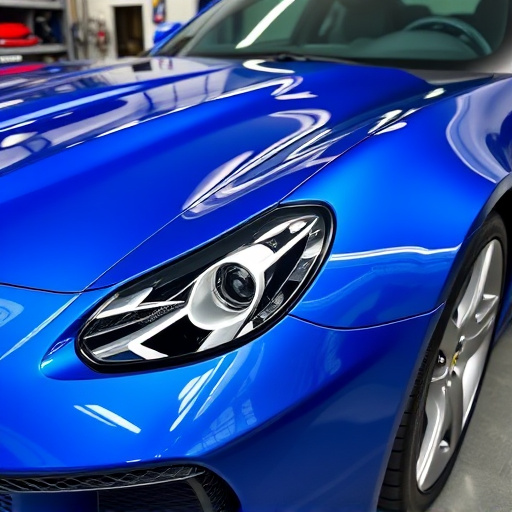
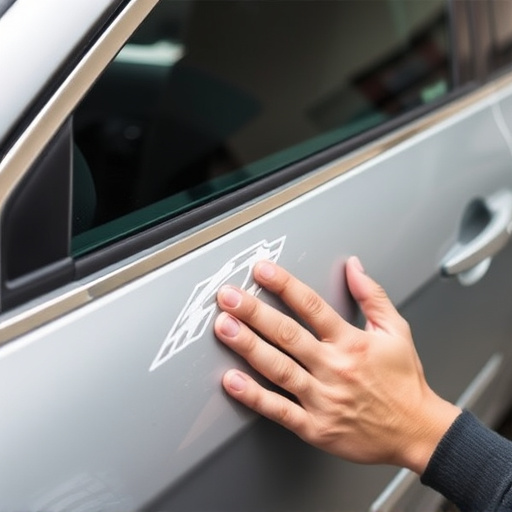
Tesla vehicles are renowned for their sleek and modern design, but one common issue that owners often encounter is the presence of panel gaps along the doors and hood. These gaps, which can be as wide as a few millimeters, occur due to various factors during the manufacturing process. One primary cause is the use of precision-cut laser technology in fabricating the panels, which can lead to slight variations in fitment. Additionally, the extreme pressure applied during panel installation might result in these visible gaps.
The effects of Tesla panel gaps are twofold. Firstly, it compromises the overall aesthetic appeal of the vehicle, giving it a less refined and manufactured look. Secondly, and more importantly, it indicates potential issues with auto maintenance and car restoration down the line. Over time, these gaps can widen due to environmental factors like extreme temperatures and sunlight exposure, affecting the structural integrity of the panels and potentially leading to more serious body damage, much like mercedes benz repair work might be required for a similarly advanced vehicle.
Tools and Materials for Restoration Project

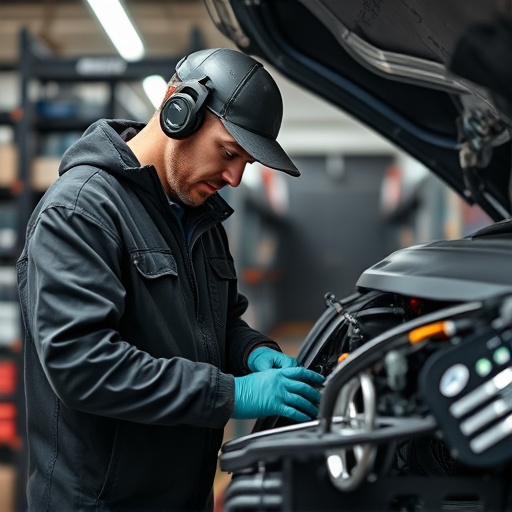
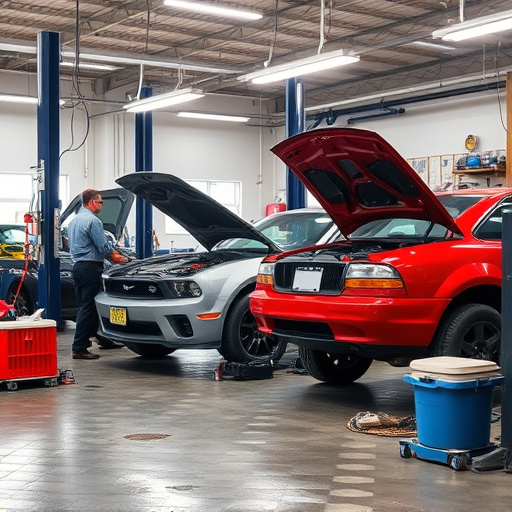
For a successful Tesla panel gap restoration, the right tools and materials are essential. This project requires specialized equipment designed to handle precise adjustments and meticulous craftsmanship. Key items on your list should include a set of fine-toothed saws or dent removal tools for careful cutting and shaping, along with putty knives for applying fillers and compounds. Additionally, you’ll need sandpaper in various grit sizes for smoothing the surface, a detailed paintbrush for retouching, and high-quality body shop supplies like clay bars for removing imprints and debris.
Remember, Tesla panel gap restoration is not just about fixing visual gaps; it involves restoring the structural integrity of your vehicle’s door and hood panels. This level of detail can be achieved through professional-grade body shop services that offer fleet repair solutions tailored to electric vehicle maintenance. With the right tools and a keen eye for detail, you’ll be able to restore your Tesla’s panels to their original factory-like condition, ensuring both aesthetics and functionality.
Step-by-Step Guide to Seamless Gap Repair
Restoring the panel gaps on your Tesla door and hood panels is a meticulous process that requires precision and the right tools. Here’s a step-by-step guide to ensure a seamless repair, bringing your vehicle back to its factory-like appearance.
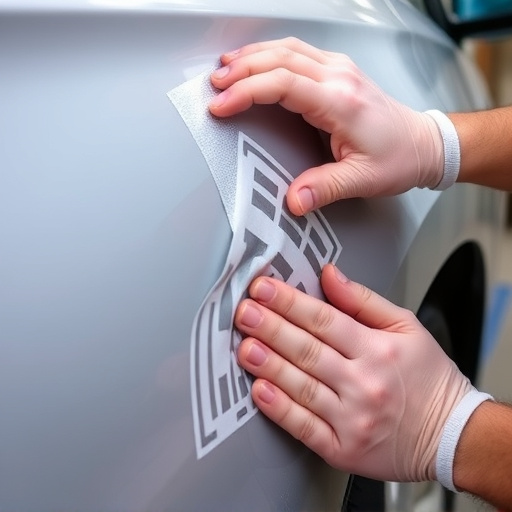
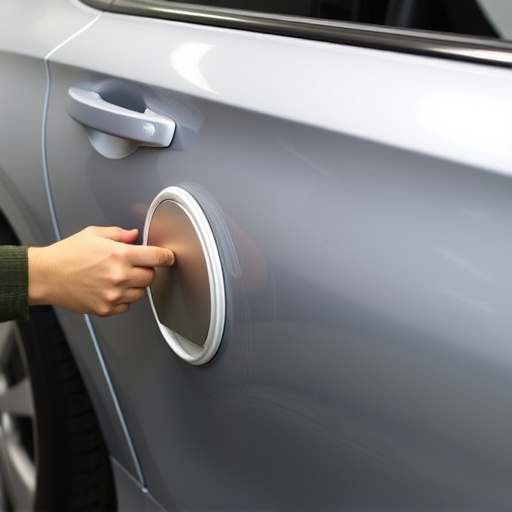
1. Preparation: Begin by washing and drying the affected areas thoroughly. This ensures that no debris or moisture interferes with the adhesive bond. Inspect the gaps for any loose parts or damage, replacing if necessary. For a more even surface, consider using a fine-grit sandpaper to lightly buff the edges of the panels.
2. Apply Adhesive and Filler: Use a high-quality automotive adhesive designed for gap restoration. Apply a thin layer along the panel gap, ensuring it’s evenly distributed. Immediately after, insert a suitable gap filler or putty into the space. Allow the adhesive to set according to the manufacturer’s instructions.
3. Smoothen and Shape: Once the adhesive is set but still pliable, use a tool designed for gap filling (like a plastic scraper or putty knife) to smoothen and shape the filler. Remove any excess, ensuring a clean, flush finish with the surrounding panel. Let it cure completely as per the product’s guidelines.
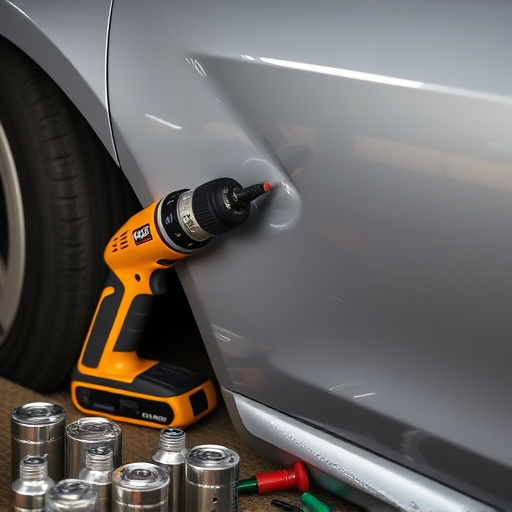
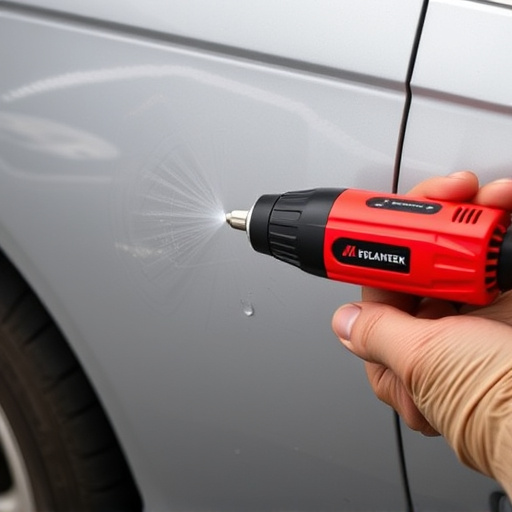
4. Paint and Match: After curing, lightly sand the repaired area if needed, then apply car paint services specifically tailored to match your Tesla’s color. Use auto glass replacement techniques for precise application, ensuring a professional, seamless finish. Consider vehicle dent repair methods if there were any deeper dents in the first place, as this step aims to complete the restoration process.
Tesla panel gap restoration is a process that can significantly enhance the aesthetic appeal of your vehicle. By understanding the causes and effects of these gaps, along with the right tools and materials, you can achieve a seamless repair that matches the precision of Tesla’s manufacturing standards. Following the step-by-step guide ensures a successful project, restoring your door and hood panels to their original condition, thus preserving the vibrant and distinctive look of your Tesla.