


Tesla panel gap restoration maintains seamless bodywork aesthetics against aging, moisture intrusion, and misalignments. Use high-quality tools and automotive-specific gap fillers for optimal restoration. Learn a simple guide to fix gaps with sealing tape, adhesive, and reassembled trim for pristine Tesla appearance.
“Maintain your Tesla’s sleek, modern aesthetic with this comprehensive guide to fixing panel gaps after service center visits. Tesla panel gap restoration is a crucial step in ensuring your vehicle’s exterior remains as pristine as the day it left the factory. Understanding common causes of these gaps—from manufacturing tolerances to environmental factors—is key. Armed with the right tools and materials, you can confidently address the issue using our step-by-step guide for a restored, seamless finish.”
- Understanding Tesla Panel Gaps: Common Causes
- Tools and Materials for Restoration
- Step-by-Step Guide to Fixing Panel Gaps
Understanding Tesla Panel Gaps: Common Causes

Tesla Panel Gaps: Unraveling the Common Culprits
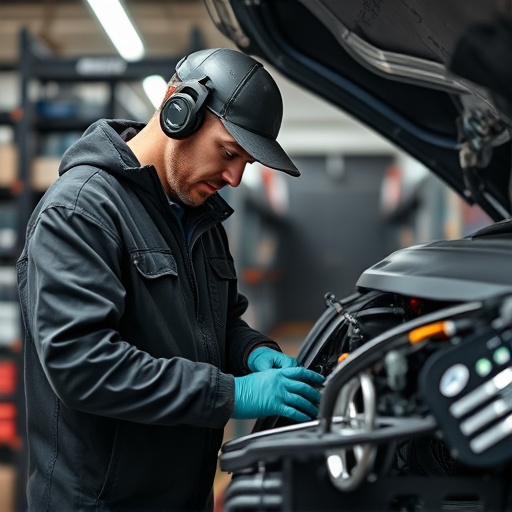
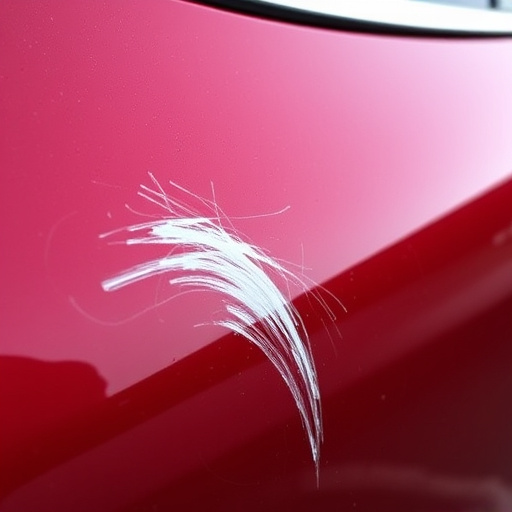
In the quest for seamless aesthetics, Tesla panel gap restoration is a common concern among owners. These gaps, often appearing between car bodywork panels, can be both functional and visual issues. While some gaps are inevitable due to manufacturing tolerances, many arise from various factors after service center visits or during normal use. One primary cause is the natural aging process of the vehicle’s exterior, leading to panel warping or loosening over time. Additionally, collision repair services or regular wash routines may inadvertently introduce moisture into the car bodywork, causing swelling and subsequent gap formation. Even minor fender benders or accidental bumps can dislodge panels, requiring precise auto body repair for restoration.
Another significant factor is the unique paint process of Tesla vehicles. The company’s advanced painting techniques, while renowned for quality, can sometimes result in slight variations in panel alignment. Over time, these subtle misalignments may become more noticeable as the paintwork hardens, contributing to visible gaps. Understanding these common causes empowers Tesla owners to take proactive measures, ensuring their vehicles retain a factory-like appearance through regular maintenance and prompt attention to any emerging panel gap issues.
Tools and Materials for Restoration

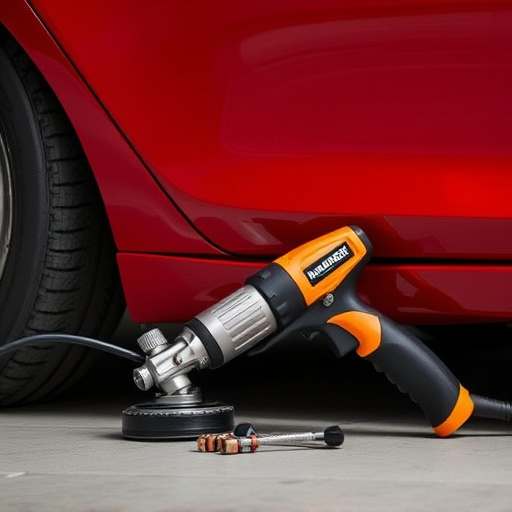
For successful Tesla panel gap restoration, the right tools and materials are essential. This process typically requires a set of precision tools including specialized gap fillers, putty knives, sandpaper, and a detailer’s cloth. Additionally, automotive restoration experts often use high-quality adhesives designed for vehicle panels to ensure long-lasting repairs. These tools enable them to accurately fill in any gaps or cracks, smoothen the surface, and achieve a seamless finish that matches the car’s original aesthetic.
Choosing the right materials is crucial for effective Tesla panel gap restoration. While some DIY enthusiasts might opt for generic fillers, professional auto repair services recommend using products specifically formulated for automotive applications. These advanced gap fillers not only provide superior bonding strength but also withstand varying weather conditions, ensuring the restored area remains damage-free over time. Remember, proper preparation and utilizing the correct tools and materials significantly contribute to achieving a flawless restoration, enhancing your vehicle’s overall appearance.
Step-by-Step Guide to Fixing Panel Gaps
Fixing Tesla Panel Gaps Yourself
If you’ve recently visited a service center for your Tesla and noticed panel gaps, don’t worry; restoring your vehicle’s appearance is easier than you think. Here’s a step-by-step guide tailored specifically for Tesla owners. Begin by inspecting the affected areas carefully to identify the extent of the gaps. Next, gather the necessary tools: a set of precision screwdrivers, high-quality sealing tape, and a small roller or brush for applying adhesive.
Disassemble any trim pieces covering the gap to gain full access. Clean the area thoroughly to ensure optimal adhesion. Apply the sealing tape along the edges of the panel gap, pressing firmly to create a tight seal. Finally, use the roller or brush to spread the adhesive evenly across the taped area, following the manufacturer’s instructions for curing time. Once cured, reassemble the trim pieces, ensuring a snug fit. This DIY approach not only saves costs but also allows you to maintain control over the repair process, leaving your Tesla looking as good as new.
After addressing common causes of Tesla panel gaps and gathering the necessary tools and materials, restoring your vehicle’s exterior is a straightforward process. By following the step-by-step guide provided, you can effectively fix panel gaps left by service center visits, enhancing your Tesla’s appearance and ensuring a seamless finish. For optimal results, maintain regular maintenance to prevent future issues. With dedication and the right approach, Tesla panel gap restoration is achievable, allowing you to enjoy your vehicle’s distinct style and quality craftsmanship.